Concrete Resurfacing – DIY or Get a Professional?
Is it better to resurface or replace the concrete?

Resurfacing Concrete – The Ultimate DIY Guide
Resurfacing concrete can be a great way to restore aging or damaged surfaces. With the right tools and a bit of DIY know-how, it’s possible to patch, seal and resurface your concrete structures in no time. Learn what you need to do to successfully resurface your concrete here!
Preparing the Surface for Resurfacing.
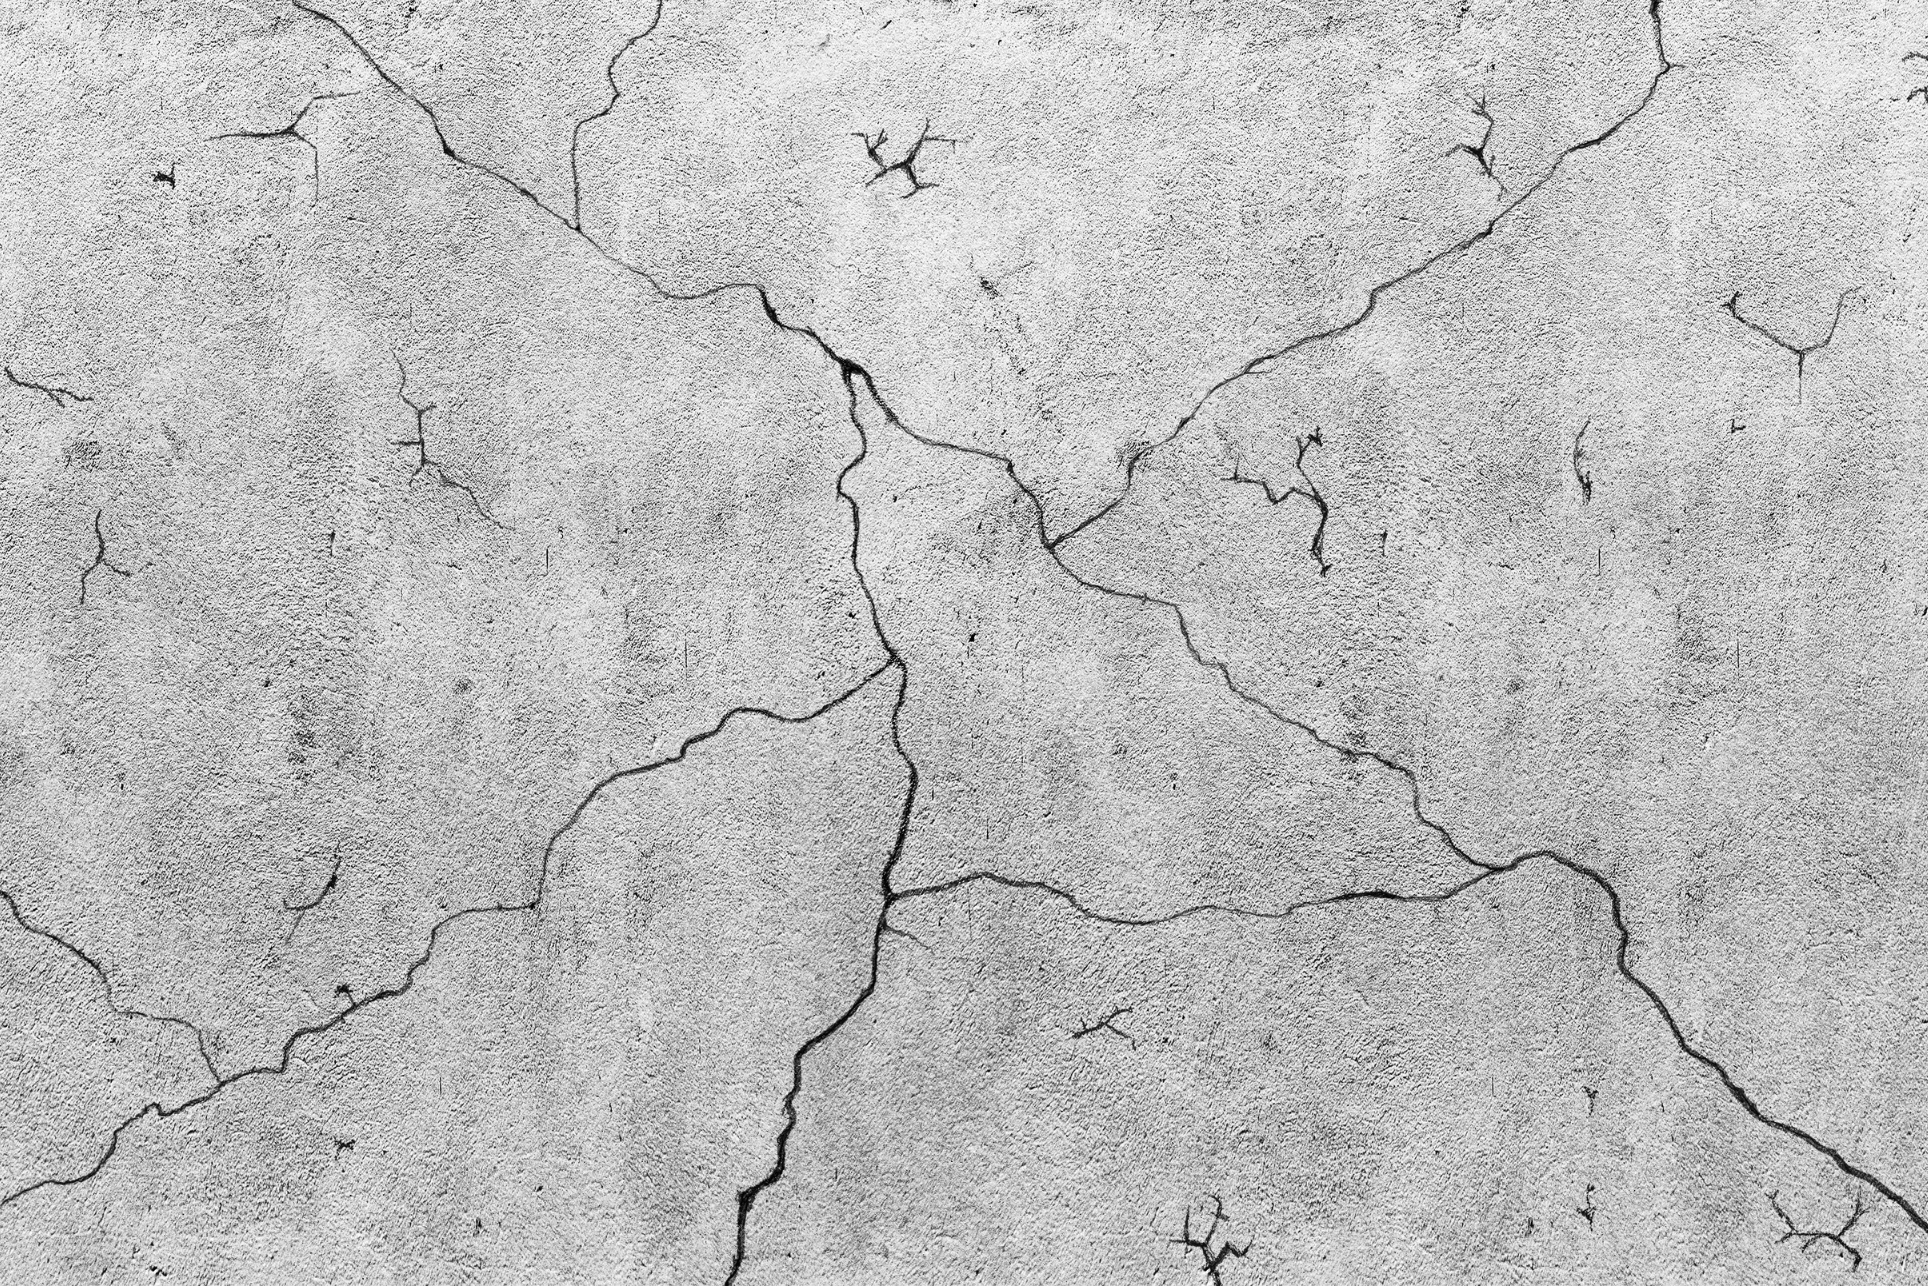
Before beginning the process of resurfacing concrete, it’s important to thoroughly inspect the surface and prepare it for patching. Start by brushing the area with a stiff broom, and check for any cracks, chips or discoloration that need to be addressed. Make sure to remove all dirt, dust, old sealer and other debris from the surface before proceeding with the resurfacing process.
Identifying Areas to Patch and Repair.
Once you have identified any areas that need to be repaired or patched, you can begin the repair process. Start by filling in large cracks with a concrete patching compound and a putty knife, and use a trowel to level it with the surface of the concrete. For smaller chips, try using an epoxy filler, which will bond to the existing concrete more effectively than a cement-based compound.
Removal of Existing Concrete Layers.
If you have a layer of peeling paint, stain or sealer, it must be removed for the resurfacing process. A chemical stripper or special concrete grinding machinery can be used to remove these layers from the concrete surface. Make sure that all removals are complete and the surface is adequately cleaned before proceeding with any resurfacing projects.
Cleaning and Sealing the Concrete Substrate.
Properly cleaning and sealing the concrete substrate is essential for a successful concrete resurfacing job. It’s important to thoroughly clean and prep the surface before applying the overlay – any dirt, stains or imperfections can become apparent underneath it. If necessary, you may want to apply a concrete sealer or other protective coating before applying the overlay to further protect your resurfaced surface from moisture, staining or discoloration.
Mixing and Applying Resurfacing Materials.
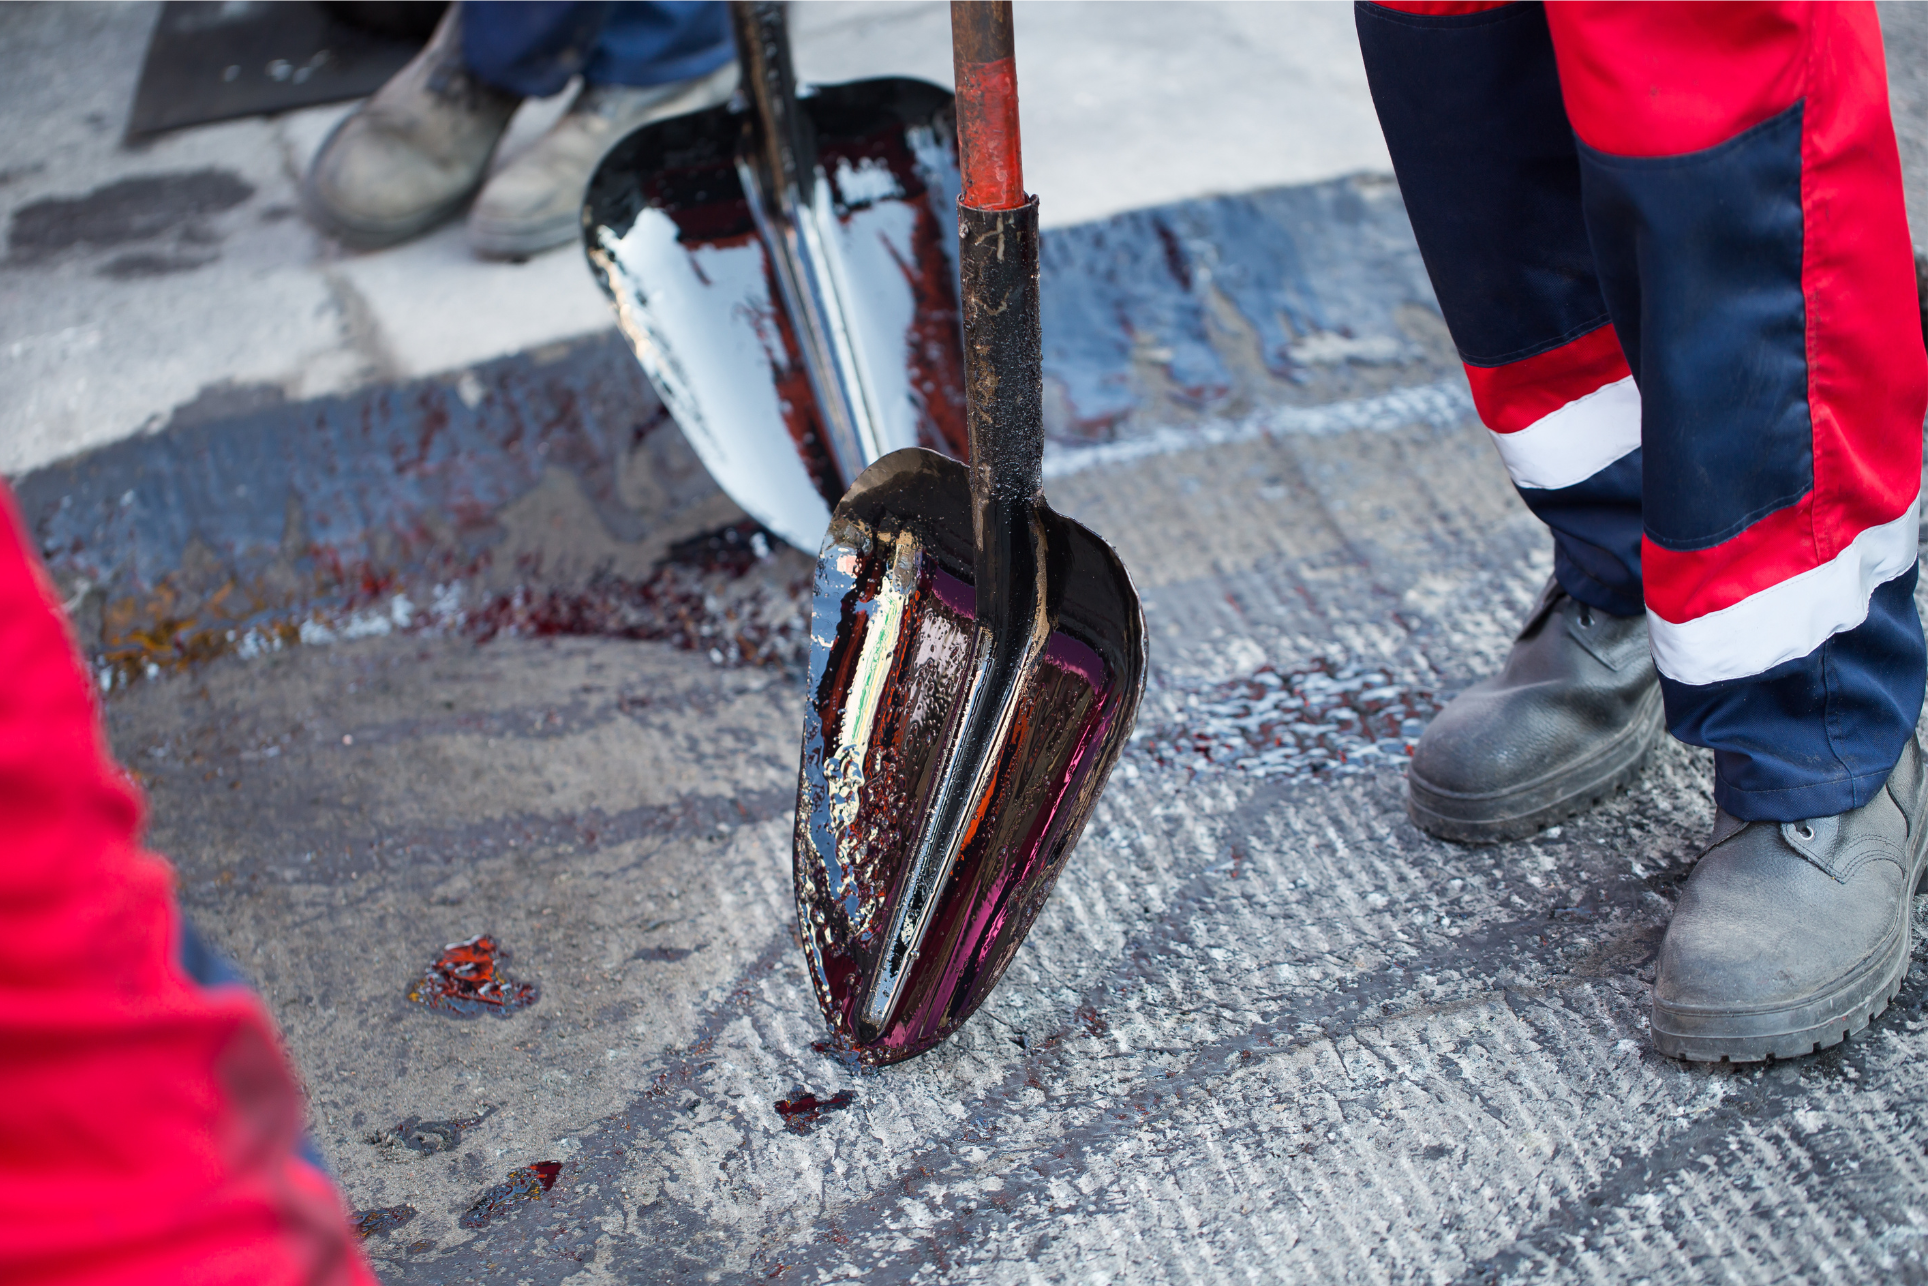
Before you can begin applying the resurfacing material to your concrete surface, you must first mix it according to the manufacturer’s instructions. The material should be blended to a creamy consistency and then applied over the cleaned and prepped area with a trowel or putty knife. Work quickly, as the material will harden rapidly and become impossible to work with. Use thin coats for best results – thicker applications tend to crack and fracture when dry.
Contact a Professional
With e-coat hard at work for you, you’ll have peace of mind that you’ll achieve the best results in concrete floor finishes for your home or business. We can assist with concrete resurfacing, colour flake, driveway refinishing, and more. For a consultation with the e-coat team, contact us on 0447 774 004 or email us via our contact page.
There are a variety of decorative contract overlay options to cover concrete driveways, kitchens, pool decks, pathways patios, parking areas, and almost any other concrete surface.

